Essential Guide on How to Use a Stud Finder Effectively in 2025
Understanding how to use a stud finder effectively is a game changer for any DIY enthusiast or homeowner. With the right tools and techniques, you can ensure your home improvement projects are safe and efficient. In this guide, we will provide a comprehensive overview of the different types of stud finders, their features, and provide expert tips on using them effectively. Whether you’re installing shelves, cabinets, or hanging pictures, knowing how to find studs properly will save you time and frustration.
Understanding the Types of Stud Finders
Before diving into techniques, it’s crucial to understand the different types of stud finders available on the market. The two primary types are electronic and magnetic stud finders, each with unique features and benefits. **Electronic stud finders** use sensors to detect changes in wall density, allowing you to find studs quickly and accurately. On the other hand, **magnetic stud finders** utilize magnets to locate metal objects like screws and nails embedded in the studs. Each stud finder has its strengths, and knowing about them can help you choose the one that suits your needs best.
Pros and Cons of Electronic Stud Finders
Electronic stud finders are often regarded as the most effective tools for finding studs due to their advanced technology. These tools can identify not only the location of wood studs but also electrical wires and pipes, minimizing the risk of accidents during installation. Some notable **advantages of electronic stud finders** include their quick detection time and ability to provide precise readings. However, they can be susceptible to false positives in thick walls and may require recalibration from time to time, which is why understanding stud finder calibration is essential.
Features of Magnetic Stud Finders
Magnetic stud finders are generally simpler in design and often come at a lower price point. They are reliable for finding screws and nails, making them a good choice for beginners. One of the main benefits of a magnetic stud finder is that it doesn’t require batteries, making it a low-maintenance option. However, the primary limitation is that they cannot detect the hollow areas between the studs, which might lead to missed detections in certain scenarios. Thus, they are most effective for locating concealed metal, rather than identifying the center of the stud itself.
Choosing the Right Stud Finder for Your Needs
When selecting the best stud finder for your projects, consider the specific tasks you’ll be performing. If you’re inclined to tackle larger projects, an electronic stud finder might be the best option due to its accuracy and multitasking capabilities. For casual use or simple tasks, a magnetic stud finder might suffice. Pay attention to the **features of stud finders**, such as detection range, ease of use, and feedback options, which can significantly enhance your experience.
Best Practices for Using a Stud Finder
Knowing how to use a stud finder properly is as crucial as picking the right one. Here are some best practices to optimize your stud finder usage. An initial step includes preparing the wall surface. Ensure it is free from any obstructions like decorations or furniture that could interfere with the reading. Also, be prepared for some **stud finder calibration** occasionally, as this process ensures accuracy in readings, particularly in varying wall constructions.
How to Use a Stud Finder Effectively
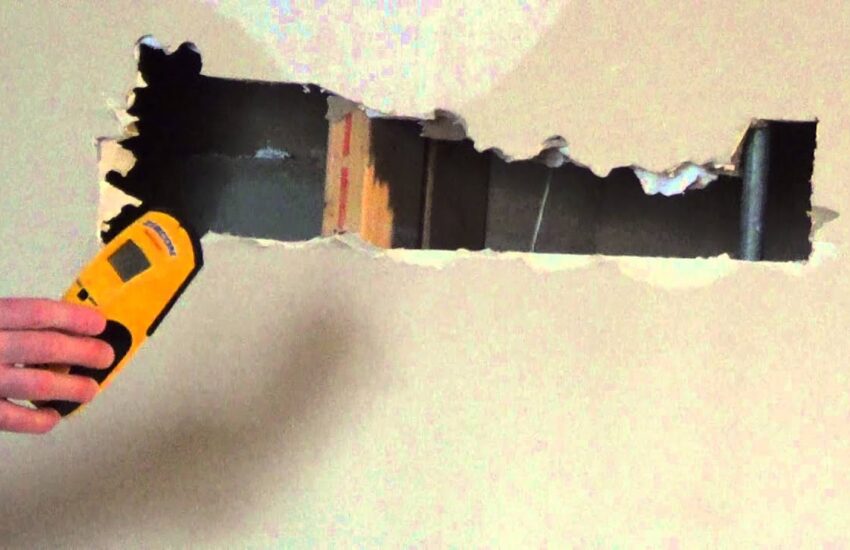
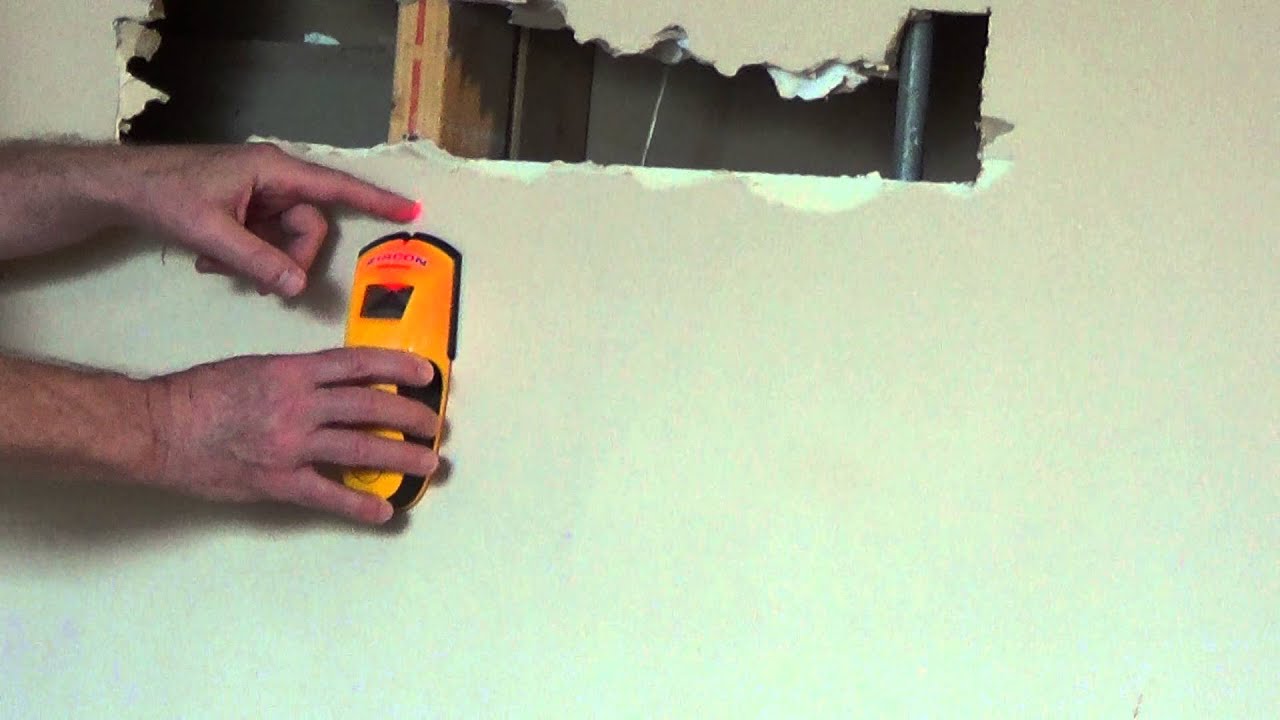
To utilize your stud finder effectively, start by identifying the wall’s center by moving the stud finder horizontally across it. Mark the point where it signals the presence of a stud. This step is important for ensuring you find the exact location. After marking, it’s beneficial to move the stud finder vertically in the same spot to confirm the stud’s edges as they often vary in width.**Using a stud finder** requires patience and practice for precise outcomes. Remember to turn off the stud finder when not in use to preserve battery life.
Advanced Techniques for Enhanced Accuracy
For those looking to master their stud locating skills, advanced techniques can take your stud finding ability to new heights. Utilizing methods like double-checking past findings can help determine stud spacing, which is generally 16 or 24 inches apart, depending on your home’s construction. Additionally, learning how to use a stud finder on different wall types, such as drywall or plaster, comes with distinct nuances. Each material may respond differently, affecting the stud firmer’s readings—this is where knowledge of the **common stud finder issues** will save time and enhance safety.
Common Mistakes While Using a Stud Finder
Beginners frequently make mistakes that compromise the accuracy of their stud findings. One common error is failing to calibrate the stud finder properly before use, leading to incorrect readings. Also, moving too quickly across the wall can hinder the stud finder from obtaining precise results; a slow and steady approach is recommended. Understanding these pitfalls, along with learning **things to keep in mind using a stud finder**, can drastically improve your outcomes.
Stud Finder Maintenance and Troubleshooting
Proper maintenance of your stud finder may prolong its life and increase performance. Regularly check the battery and look out for any physical damage, such as cracks. When troubleshooting stud finders, ensure they are not overly exposed to dust or moisture, which could affect their functionality. **Stud finder troubleshooting** is critical, especially for electronic models that may exhibit erratic behavior if not regularly serviced or calibrated.
Recognizing Stud Finder Alerts
Most stud finders come equipped with alerts that indicate when a stud is detected. Understanding **stud finder alerts** will help you interpret readings accurately—most will typically emit a sound or light when detecting a stud or any other object. Familiarizing yourself with these signals will increase your efficiency when using a stud finder for home projects.
Essential Safety Tips When Using a Stud Finder
Lastly, it’s paramount to keep safety in mind when using any tools, including stud finders. Always be aware of your surroundings; avoid areas where electrical wiring might be present unless your stud finder can detect them. Understanding **stud finder safety tips**, such as recognizing the constraints of detection and meticulously verifying areas where vulnerabilities exist, ensures that your projects are accomplished safely.
Key Takeaways
- Choose the right stud finder—Electronic for precision and magnetic for simplicity.
- Calibrate your stud finder to avoid inaccuracies.
- Always mark and double-check stud locations when drilling or nailing.
- Stay mindful of your surroundings to ensure safety.
FAQ
1. How do I ensure my stud finder is working correctly?
To ensure your stud finder is functioning properly, start by calibrating it on a known surface. Run it across the wall without any obstructions and observe if it detects anything consistently. If readings seem erratic or inconsistent, try recalibrating it and ensure that batteries are charged. Familiarize yourself with how to read a stud finder to optimize its usage.
2. What should I do if my stud finder gives false readings?
If you’re experiencing false readings, ensure that the wall is free from any metallic objects, like nails or screw heads, which can interfere. Calibrate the tool again and approach using different speeds over the wall for accuracy. Knowing your wall structure can also help in identifying common stud finder issues and solutions.
3. Can I use a stud finder on all wall types?
Yes, but the effectiveness varies with wall types. For instance, **how to use a stud finder on drywall** may differ from using it on plaster, which can be denser and cause readings to fluctuate. Getting accustomed to the nuances of various wall materials enhances detection accuracy significantly.
4. How much do stud finders typically cost?
Stud finders can vary greatly in price, with basic models costing around $10-$20, while advanced electronic versions can go up to $100 or more. However, considering **stud finder price comparisons** will help you find the model that meets your needs without overspending.
5. Why should I use a stud finder instead of guessing?
Using a stud finder eliminates the guesswork and minimizes the risks of hitting electrical wires or pipes while drilling. It helps maintain wall integrity by allowing you to pinpoint studs accurately, enhancing the longevity of completed projects. By understanding the **importance of using a stud finder**, you’re investing in safety and efficiency.
6. How do stud finders detect metal or wiring?
Electronic stud finders can distinguish between wood and metal based on density variations in walls. When it senses a change, it alerts you with sound and/or light signals. On the other hand, magnetic stud finders locate screws and nails using basic magnetic attraction. Mastering **stud finder functionality** can guide effective use in finding hidden elements within walls.
7. What are the best brands of stud finders?
When searching for the best stud finder, look at user reviews for electrical and magnetic brands like Zircon, Johnson, and Bosch. Comparing **stud finder reviews** can be valuable in selecting the right tool that fits your needs best and examining features like accuracy and functionality.